Tag: tips

  • Starting Urban Permaculture: How to Create a Sustainable Garden in the City

    Starting Urban Permaculture: How to Create a Sustainable Garden in the City

    Image of container garden with a variety of vegetables and the post title which reads
Starting Urban Permaculture: How to Create A Sustainable Garden In The City

    Permaculture is a sustainable and holistic approach to gardening that aims to create a self-sustaining ecosystem that produces food and other resources. While permaculture is often associated with rural areas, it’s absolutely possible to create a permaculture garden in an urban environment. In fact, urban permaculture is becoming increasingly popular as more people seek to grow their own food and reduce their environmental impact. Here are some tips for starting your own urban permaculture garden.

    Assess Your Space

    The first step in starting in permaculture is to assess your space. Consider the amount of sunlight your space receives, the type of soil you have, and the size of your space. Even small spaces like balconies and rooftops can be used to create a permaculture garden. Think creatively about how you can make the most of your space, whether that means using vertical space, creating raised beds, or using containers. Getting your soil tested is a great way to learn more about what amendments may be needed, as well as what types of plants will thrive in your current soil conditions. You’ll want to research things like your growing zone to determine when your first and last frost dates fall so that you are planting things that are suitable for your climate.

    Choose Your Plants

    When choosing plants for your garden, look for plants that are well-suited to your climate and soil type. Consider planting a mix of annual and perennial plants, including fruit trees, shrubs, and vegetables. In permaculture, diversity is key, so aim to plant a mix of plants that support each other and create a self-sustaining ecosystem. You’ll also want to be sure you are planting things that you will actually benefit from growing. Keep in mind that benefits do not need to be exclusive to feeding you and your family. We grow a host of plants merely for the aesthetics, increasing pollinator activity, improving soil health, and creating shade for other beneficial plants for example.

    Incorporate Companion Planting

    Companion planting is a technique that involves planting different plants together that have mutually beneficial relationships. For example, planting marigolds with tomatoes can help repel pests, while planting beans with corn can help fix nitrogen in the soil. Incorporating companion planting into your permaculture garden can help create a healthier and more sustainable ecosystem. There are dozens of resources available to help you learn about which plants are great to plant together, and which can result in more difficult growing conditions. Check out Episode 9 on The Urban Permaculture Podcast for a really extensive list of common companion plants.

    Build Healthy Soil

    Healthy soil is the foundation of any successful permaculture garden. In urban areas, the soil is often depleted or contaminated, so it’s important to build healthy soil by adding organic matter, compost, and other soil amendments. You can also consider using raised beds or container gardens filled with healthy soil to ensure that your plants have the nutrients they need to thrive.

    Use Sustainable Practices

    Permaculture is all about sustainability and regeneration, so it’s important to use sustainable regenerative practices in your garden. This includes using organic fertilizers and pesticides, conserving water, and reducing waste. You can also incorporate sustainable practices like rainwater harvesting, composting, and using recycled materials in your garden. We often repurpose items around our home as a means to reduce our consumption, and avoid single use items as much as possible to help reduce our overall landfill contribution for example.

    Continuously Learn and Adapt

    Permaculture is a lifelong learning process, so be prepared to continuously learn and adapt as you create your garden. Join a local permaculture group, attend workshops and conferences, and read books and blogs to learn more about permaculture and how to apply it in an urban environment. Definitely listen to The Urban Permaculture Podcast for some of our insight about a growing number of permaculture topics! Don’t be afraid to experiment and try new things, and be open to adapting your garden as needed. If you try something new and happen to have less than desirable results, remember to use them as a learning experience and adapt. We’ve adjusted our seed starting setup several times to get the best results and we’ll likely continue to adjust as we continue to grow.

    In conclusion, starting an urban permaculture garden is a great way to create a sustainable and self-sustaining ecosystem in the city. By assessing your space, choosing the right plants, incorporating companion planting, building healthy soil, using sustainable practices, and continuously learning and adapting, you can create a beautiful and productive permaculture garden that supports both you and the environment. These practices allow you to leave a lasting positive impact on our planet for generations to come!

  • Episode 12: Growing Bonus Mushrooms

    Episode 12: Growing Bonus Mushrooms

    This post contains affiliate links. Choosing to make a purchase from these links will cost you nothing extra, but Hogs and Hens Urban Farm will make a small commission from purchases made by clicking these links. Please see our disclosure page HERE for more information.

    Welcome to the Urban Permaculture Podcast. We’re Heather and Bob and we’re your hosts for this weekly podcast focused on building a permaculture life in the city. The Urban Permaculture Podcast is a fun show featuring episodes dedicated to all of the topics you’ll love to learn about. From figuring out exactly what permaculture means, to learning how we’re able to produce so much food on a small scale farm, you’re sure to enjoy every episode.

    Listen and Subscribe On Your Favorite Podcast Player

    Spotify Apple PodcastsGoogle Podcasts | Amazon Music | StitcherPocket Casts | Castbox | RadioPublic Anchor | RSS

    Back to the Roots Mushroom Growing Kit: When you shop with Back to the Roots, you can save $10 off of a $30 purchase by using this link: http://backtotheroots.refr.cc/hogsandhensurbanfarm

    We chose to start with Pearl Oyster Mushrooms and Pink Oyster Mushrooms. There are loads of options available, but this was the company that we had the most success with on our farm.

    5 Gallon Bucket and Lid we use: https://www.lowes.com/pd/United-Solutions-5-Gallon-General-Bucket/1000462835

    Lid for 5 Gallon Buckets we use: https://www.lowes.com/pd/United-Solutions-12-5-in-Blue-Plastic-Bucket-lid/1002473248

  • Episode 11: Seed Starting Done Right

    Episode 11: Seed Starting Done Right

    This post contains affiliate links. Choosing to make a purchase from these links will cost you nothing extra, but Hogs and Hens Urban Farm will make a small commission from purchases made by clicking these links. Please see our disclosure page HERE for more information.

    Welcome to the Urban Permaculture Podcast. We’re Heather and Bob and we’re your hosts for this weekly podcast focused on building a permaculture life in the city. The Urban Permaculture Podcast is a fun show featuring episodes dedicated to all of the topics you’ll love to learn about. From figuring out exactly what permaculture means, to learning how we’re able to produce so much food on a small scale farm, you’re sure to enjoy every episode.

    Listen and Subscribe On Your Favorite Podcast Player

    Spotify Apple PodcastsGoogle Podcasts | Amazon Music | StitcherPocket Casts | Castbox | RadioPublic Anchor | RSS

    USDA Hardiness Zone lookup : https://planthardiness.ars.usda.gov/

    Cloche domes: https://amzn.to/3LDHXh9

    Coco Coir: https://amzn.to/3nafgPz

    Potting Mix: https://amzn.to/3HrhtwP

    Growing trays with holes: https://amzn.to/44cDPf9

    Grow Lights for Indoor Seed Starting (8 pack): https://amzn.to/3oT3tWp

  • Episode 10: Tools On A Dime

    Episode 10: Tools On A Dime

    Welcome to the Urban Permaculture Podcast. We’re Heather and Bob and we’re your hosts for this weekly podcast focused on building a permaculture life in the city. The Urban Permaculture Podcast is a fun show featuring episodes dedicated to all of the topics you’ll love to learn about. From figuring out exactly what permaculture means, to learning how we’re able to produce so much food on a small scale farm, you’re sure to enjoy every episode.

    Listen and Subscribe On Your Favorite Podcast Player

    Spotify Apple PodcastsGoogle Podcasts | Amazon Music | StitcherPocket Casts | Castbox | RadioPublic Anchor | RSS

    On this episode, Bob discusses several tools that are important to have on your homestead. He discusses sourcing the tools inexpensively, as well as sourcing materials inexpensively.

    Sources we’ve used for sourcing tools on a dime:

    www.harborfreight.com

    www.craigslist.org

    Garage sales

    Pawn Shops – Be sure to check pricing on new. Often tools sell for the same price as new at a pawn shop!

    Borrow! Ask friends and family before purchasing tools, especially in the case of a tool you will only need once or twice.

    Facebook Marketplace

  • How to Calculate the Number of Plants Needed to Feed Your Family

    How to Calculate the Number of Plants Needed to Feed Your Family

    Growing your own food is a rewarding and sustainable way to provide healthy and fresh produce for your family. However, before you start planting your garden, it’s important to determine how many plants are needed to feed your family. Not planting enough produce means you’ll need to source food from somewhere else, planting too much creates waste. If you’re looking for a graph that tells you exactly how much you’ll need, unfortunately that isn’t something that I can accurately create. I say this because each family has different tastes, and each person has different dietary needs. While I can’t give you an exact count, here are some steps to help you determine your own planting needs.

    Determine Your Family’s Food Needs

    The first step in determining how much to plant is to figure out how much food your family needs. This can vary depending on the number of people in your family, their ages, activity levels, and dietary requirements. This can also vary greatly if you are planning to grow food for livestock. We always plant more than we think we’ll need. We know that we can feed our surplus to our chickens and rabbits. A good place to start is to use a food calculator, such as the USDA’s MyPlate Plan. This tool can help you determine how many calories and nutrients your family needs each day.

    Another great option is to keep a running list of ingredients that you add to each time you cook. Keep that information handy and use it to plan the following year’s garden.

    Plan Your Garden Space

    Once you know your family’s food needs, you can plan your garden space accordingly. Consider the available space you have and the types of plants that grow well in your climate and soil conditions. It’s also important to consider how much time and effort you’re willing to invest in maintaining your garden. This is another time when your garden planner and journal will be really important. For example, you may need 25 plants to accommodate your family’s needs, but only have space for half of that. In this case, you can look into varieties that offer higher yields. Adding container gardening to your plan or planting in a community garden are more options.

    Just remember that while you may not be able to grow 100% of your own food, anything that you are able to grow is a step in the right direction.

    Choose Your Crops

    Choose the crops you want to grow based on your family’s preferences and nutritional needs. You may want to focus on vegetables that are expensive to buy, such as tomatoes, peppers, and cucumbers. Gardeners may also choose produce that their family enjoys eating regularly. .

    In our family, we grow a ton of tomatoes, cucumbers, leafy greens, potatoes, and herbs. We grow plenty of other edible plants as well. Since these are the plants that our family tends to eat more than others, we always make sure to plant plenty of them. This year we are planting extra green beans because we learned that we absolutely love dill pickled green beans!

    Calculate How Much to Plant

    To calculate how much to plant, you’ll need to consider the yield of each crop and the number of plants you’ll need to meet your family’s needs. For example, one tomato plant can yield up to 10 pounds of tomatoes. A single zucchini plant can produce up to 10 zucchinis per season! That’s a lot of zucchini. You can use online calculators or reference books to determine the expected yield for each crop.

    You’ll also want to factor in the ability to preserve anything that you can’t use while it is fresh. For example, lettuce is not a crop that stores well, so for families that do not raise livestock, growing more lettuce than you can consume before it bolts or spoils will only serve as compost. If you are growing things for livestock, be sure to calculate how much you will need to grow to feed your livestock.

    Plan for Succession Planting

    Succession planting is the practice of planting crops at different times throughout the growing season. This is done to ensure a steady supply of fresh produce. By staggering your planting times, you can ensure that you have a continuous supply of fresh vegetables throughout the season. You can also consider planting a variety of crops that mature at different times. Fast-maturing crops like lettuce and radishes, can be paired with slower-growing crops like tomatoes and peppers.

    We stagger our radish planting by about 2 weeks and plant them every 2 weeks from late March until early November here at Hogs and Hens Urban Farm. We’re in zone 6a, so be sure to plan for your crops to be harvested before your first frost when planting frost intolerant plants like tomatoes and peppers.

    Consider Preservation Methods

    Once you’ve determined how much to plant, you’ll need to consider how to preserve your harvest for future use. Consider canning, freezing, or drying your excess produce to ensure you have a supply of fresh vegetables throughout the year. Other great option for preserving fresh produce is using a freeze dryer. We currently do not have this equipment on our farm, but are hoping to add it to our preservation tools in the future. Creating things like Nasturtium Pesto is a great way to use and store surplus herbs.

    In conclusion, determining how much to plant to feed your family requires careful planning and consideration. By using the steps listed above, you can ensure that you have a steady supply of fresh and healthy produce to feed your family. Gardening can be a rewarding and sustainable way to provide for your family, and with some planning and effort, you can enjoy the fruits of your labor all year round.

  • Urban Farm Composting Made Simple

    Urban Farm Composting Made Simple

    Composting is the process of breaking down organic materials like food scraps, yard waste, and other organic matter into a rich soil amendment that can be used to improve the health of your garden. Composting is an easy and eco-friendly way to reduce waste and improve the health of your plants. There are several different types of garden composting methods that you can use depending on your space, time, and resources. Here are a few of our favorite types of garden composting and how you can get started with them today.

    Traditional Composting

    Traditional composting is the most common and well-known method of composting. It involves creating a pile of organic matter in a designated area and allowing it to decompose over time. Traditional composting requires a mix of “greens” (nitrogen-rich materials like grass clippings and vegetable scraps) and “browns” (carbon-rich materials like leaves and paper) to create the ideal balance for decomposition. The pile should be turned regularly to aerate it and allow the organic matter to decompose evenly. Traditional composting can take several months to a year to produce usable compost, but it’s a great way to create a large amount of compost at once. We use a large 2 bin system that is made entirely from reclaimed wood. This method works great if you have space for the pile.

    Vermicomposting

    Vermicomposting involves using worms to break down organic matter into compost. Worms consume the organic matter and excrete castings, which are rich in nutrients and beneficial microorganisms. Vermicomposting can be done indoors or outdoors, and is ideal for small spaces like apartments or balconies. To start vermicomposting, you’ll need a bin, bedding materials like shredded newspaper or cardboard, and worms. The worms can be purchased online or at a local garden center. We use red wiggler worms in our vermicomposting setup because they are the most efficient at breaking down material. Vermicomposting produces compost faster than traditional composting, typically within 2-3 months. This method works great for small spaces, and is less labor intensive than traditional composting.

    Sheet Composting

    Sheet composting, also known as lasagna gardening, involves layering organic materials directly on top of your garden bed. The layers can include things like leaves, grass clippings, kitchen scraps, and other organic matter. The layers should be watered to encourage decomposition, and over time the organic matter will break down and create compost. We use this method as well here at Hogs and Hens Urban Farm. We have had great results from layering the material and allowing nature to take its course. Sheet composting is a great way to build soil fertility and structure over time, and it can be done year-round. It’s also a great way to convert an unused or weedy garden bed into a productive growing space.

    Trench Composting

    Trench composting involves digging a trench in your garden bed and filling it with organic matter. The organic matter is then covered with soil and left to decompose. As the organic matter decomposes, it will enrich the soil and improve the health of your plants. Trench composting is a great way to add organic matter to your garden bed without having to move a large amount of compost around. It’s also a great way to add nutrients directly to the root zone of your plants. We employ this method in our hügelkultur beds but because this method requires digging, it is more labor intensive. This method is best if you have a large area to dig your trenches.

    In conclusion, there are several different types of garden composting methods that you can use to create rich, nutrient-dense compost for your garden. We covered just a few of them today, and will ocver more options in future articles. Whether you choose traditional composting, vermicomposting, sheet composting, or trench composting, the key is to create a balance of greens and browns, turn or mix the pile regularly, and keep it moist to encourage decomposition. With a little patience and effort, you can create a thriving compost pile that will help you grow healthy, vibrant plants in your garden. If you’re looking to get started in Urban Permaculture, check out THIS link for a simple guide to getting started!

  • Starting Urban Permaculture: How to Create a Sustainable Garden in the City

    Starting Urban Permaculture: How to Create a Sustainable Garden in the City

    Permaculture is a sustainable and holistic approach to gardening that aims to create a self-sustaining ecosystem that produces food and other resources. While permaculture is often associated with rural areas, it’s also possible to create a permaculture garden in an urban environment. In fact, urban permaculture is becoming increasingly popular as more people seek to grow their own food and reduce their environmental impact. Here are some tips for starting your own urban permaculture garden. We started small with one little planter box, and now we have a huge garden! Read on to learn more ways you can get started today!

    Assess Your Space

    The first step in starting an urban permaculture garden is to assess your space. Consider the amount of sunlight your space receives, the type of soil you have, and the size of your space. Even small spaces like balconies and rooftops can be used to create a permaculture garden. Think creatively about how you can make the most of your space, whether that means using vertical space, creating raised beds, or using containers.

    Choose Your Plants

    When choosing plants for your urban permaculture garden, look for plants that are well-suited to your climate and soil type. Consider planting a mix of annual and perennial plants, including fruit trees, shrubs, and vegetables. In permaculture, diversity is key, so aim to plant a mix of plants that support each other and create a self-sustaining ecosystem.

    Incorporate Companion Planting

    Companion planting is a technique that involves planting different plants together that have mutually beneficial relationships. For example, planting marigolds with tomatoes can help repel pests, while planting beans with corn can help fix nitrogen in the soil. Incorporating companion planting into your permaculture garden can help create a healthier and more sustainable ecosystem.

    Build Healthy Soil

    Healthy soil is the foundation of any successful permaculture garden. In urban areas, the soil is often depleted or contaminated, so it’s important to build healthy soil by adding organic matter, compost, and other soil amendments. You can also consider using raised beds or container gardens filled with healthy soil to ensure that your plants have the nutrients they need to thrive. Here at Hogs and Hens Urban farm, we use a mixture of raised beds, and planting directly in the ground. In both cases, we are very careful to build strong and healthy soil.

    Use Sustainable Practices

    Permaculture is all about sustainability, so it’s important to use sustainable practices in your garden. This includes using organic fertilizers and pesticides, conserving water, and reducing waste. You can also incorporate sustainable practices like rainwater harvesting, composting, and using recycled materials in your garden. We make it a point to reduce, reuse, and recycle as much as possible. Many of the projects here at Hogs and Hens are created using reclaimed materials. Get creative with ways to reduce your single use item purchases!

    Continuously Learn and Adapt

    Permaculture is a lifelong learning process, so be prepared to continuously learn and adapt as you create your garden. Join a local permaculture group, attend workshops and conferences, and read books and blogs to learn more about permaculture and how to apply it in an urban environment. Don’t be afraid to experiment and try new things, and be open to adapting your garden as needed. Be sure to find us on Facebook and ask any questions you may have along the way. We’ve found that learning by networking has been a game changer for our farm!

    In conclusion, starting an urban permaculture garden is a great way to create a sustainable and self-sustaining ecosystem in the city. By assessing your space, choosing the right plants, incorporating companion planting, building healthy soil, using sustainable practices, and continuously learning and adapting, you can create a beautiful and productive permaculture garden that supports both you and the environment.

  • 5 Tips for Growing Lush Gardens in a Limited Area

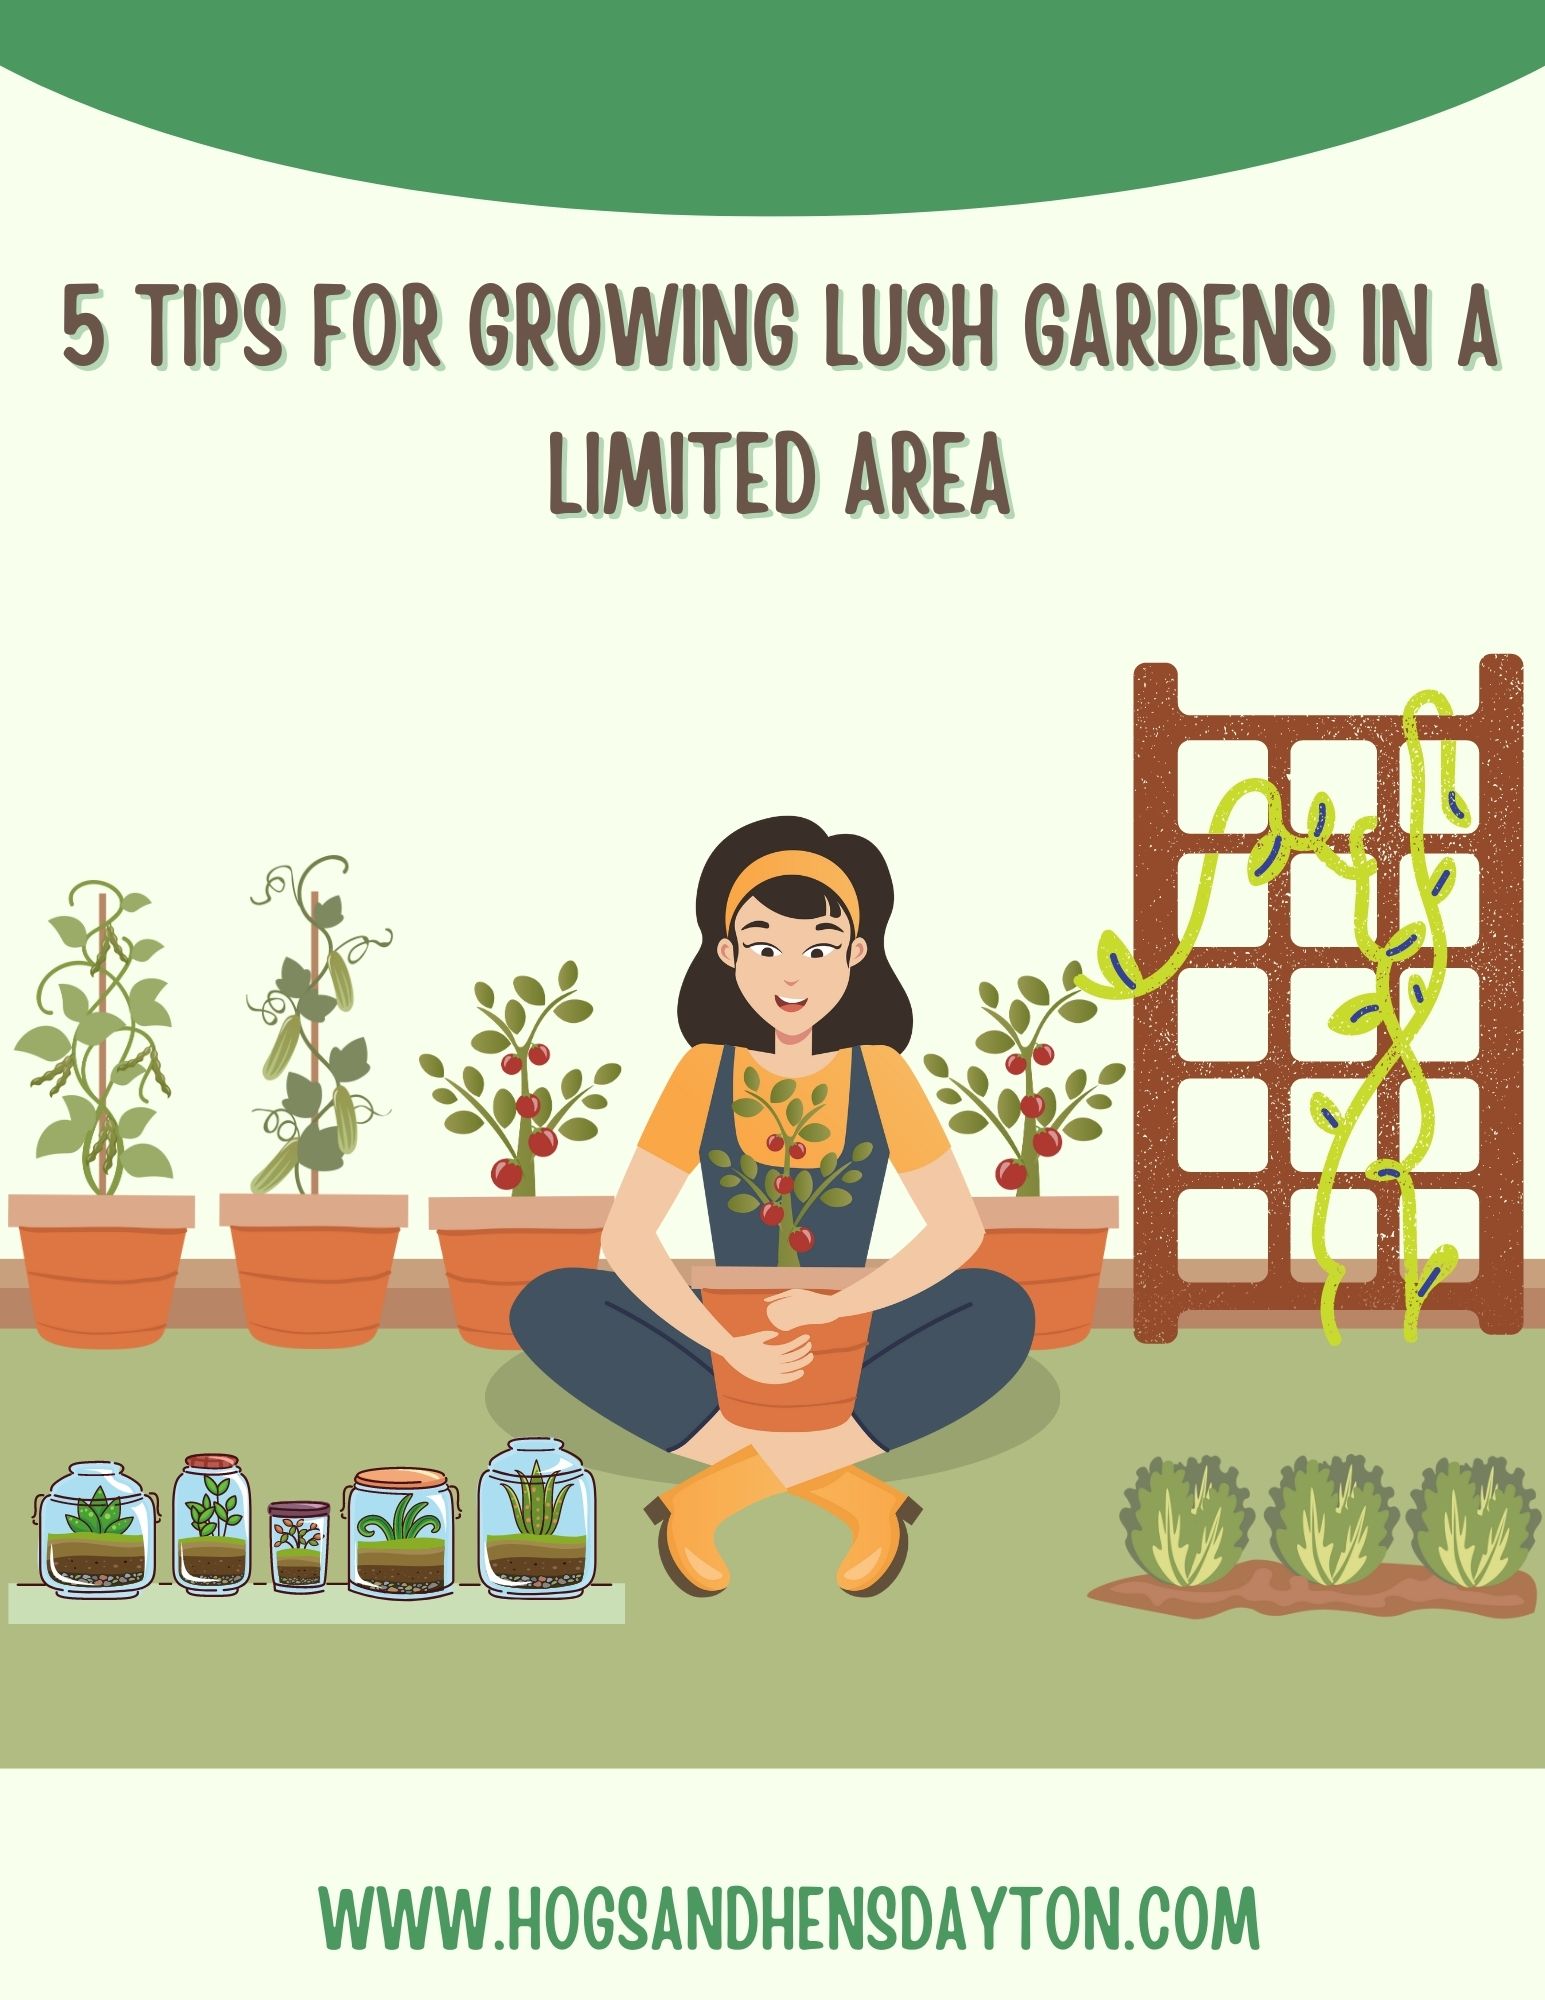
    5 Tips for Growing Lush Gardens in a Limited Area

    Growing in a small space is made easier with these 5 tips

    Gardening is a wonderful way to connect with nature, improve your mood, and get some exercise. However, if you live in a small apartment, condo, or house with limited outdoor space, you may think that gardening is not an option. The good news is that you don’t need a large backyard to enjoy the benefits of gardening. With a little creativity, you can create a lush and thriving garden in even the smallest of spaces.

    1- Choose the Right Plants

    When gardening in small spaces, it’s important to choose plants that are well-suited for your space. Look for plants that are compact, have a small footprint, and can be grown in containers. Some great options include herbs, small vegetables, succulents, and dwarf fruit trees. You can also consider growing vertical plants like climbing vines, trellises, or wall-mounted planters to maximize your space. Be sure to chose varieties of plants that are non-invasive. When growing in a small space, or any space, you don’t want to worry about invasive plants taking over!

    2- Optimize Your Containers

    Choosing the right containers is essential when gardening in small spaces. Look for containers that are the right size for your plants and space. Containers made of lightweight materials like plastic, resin, or fiberglass can make it easier to move your plants around. You can also opt for hanging baskets or wall-mounted planters to save floor space. Be sure to sanitize your containers before planting to prevent diseases in your new garden.

    3- Use Vertical Space

    Vertical gardening is a great way to maximize your growing space. You can use walls, fences, or trellises to grow climbing plants like cucumbers, tomatoes, and beans. You can also create a living wall by mounting containers on a trellis, fence or mesh panel. If you’re short on floor space, consider investing in a vertical garden system like THIS that allows you to stack plants on top of each other.

    4- Make the Most of Your Sunlight

    When gardening in small spaces, it’s important to make the most of your available sunlight. Make sure your plants are getting enough light by placing them near a window or on a balcony that gets plenty of sun. If you don’t have access to direct sunlight, you can invest in grow lights that simulate natural sunlight. Grow lights are a great option for indoor gardening and can help you grow plants year-round.

    5- Take Care of Your Plants

    Just like any other garden, plants in small spaces require proper care and maintenance. Water your plants regularly and make sure they are getting the right nutrients. Fertilize your plants every few weeks to help them grow and thrive. Monitor your plants for signs of pests or disease, and take action quickly to prevent problems from spreading.

    In conclusion, gardening in small spaces is not only possible but also rewarding. Make sure to listen to Episode 13 of The Urban Permaculture Podcast for more tips and tricks for small space permaculture! With the right plants, containers, and care, you can create a beautiful garden that will brighten up your space and improve your mood. So, don’t let a lack of outdoor space stop you from gardening – get creative and start growing today!

  • Episode 10: Tools and Materials on a Dime

    Episode 10: Tools and Materials on a Dime

    The Urban Permaculture Podcast Logo
    Episode 10 is all about tools and building materials on a budget.

    In this episode of The Urban Permaculture Podcast, Bob talks about tools that are really helpful around the farm. He goes into detail about sourcing the different tools discussed and some of the things to look out for when buying used tools.

    Garage Sales

    Auctions/Estate Sales

    Pawn Shops** Be careful of pricing!

    Craigslist/Marketplace/Online Garage Sales

    Ask friends/barter

    Make your own

    Modify an existing tool

    Next up, Bob talks about finding materials on a budget. From sourcing pallets, to purchasing lumber at a reduced rate, Bob gives a nice list of options to explore as you begin to build things on your homestead.

    Pallets – Great to use but the wood is often splintered and/or treated so be careful of chemicals that can leach into your soil!

    Hardware Stores

    Farm Supply Stores

    Small Businesses

    Bix Box Stores

    Friends

    Other lumber options

    Old Fencing

    Demo/construction cleanup

    Barn teardowns

    Cull Carts/Off Cuts from your local lumber carrier

    Heather then discusses some of the projects around Hogs and Hens Urban Farm that have been completed using tools and materials sourced this way. She also talks about reducing waste streams and how this can help reduce methane production from landfills.

    Below are links to the tools Bob discussed:

    Dewalt Cordless Drill

    Dewalt Cordless Circular Saw

    Speed Square

    Tape Measure

    Mitre Saw

    Table Saw

    Nail Gun (Brad Nailer)

    Nail Gun (Finish Nailer)

  • 13 Reasons Why You Should Grow Nasturtium

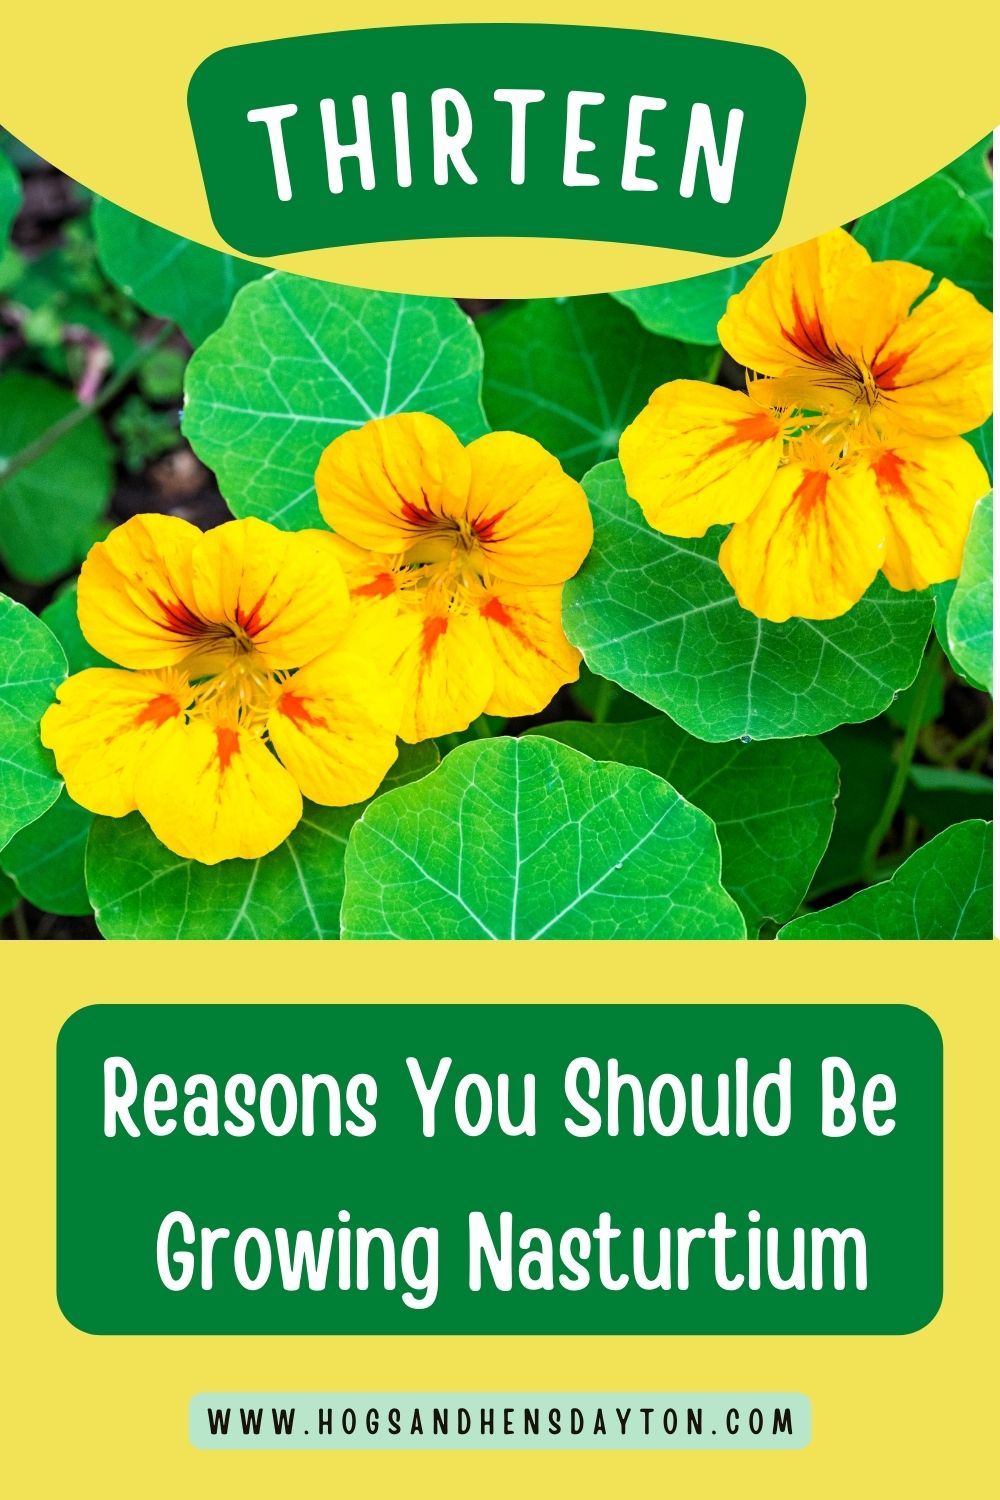
    13 Reasons Why You Should Grow Nasturtium

    Here at Hogs and Hens Urban Farm, one of our absolute favorite plants to grow is nasturtium. This beautiful and colorful plant is an incredible addition to any garden, and here are 13 reasons why you should be sure to include it in your garden plans this year! HERE is a link to order nasturtium seeds right now!

    1- The flowers from this plant are absolutely stunning and are very easy to press and dry for use in a variety of craft and decorating projects.

    2- The flowers of the nasturtium plant have a very pleasant scent both in the garden and in a vase of fresh cut flowers.

    3- This plant is fantastic to feed to your poultry! Chickens especially love the taste of the entire nasturtium plant! Best of all, nasturtiums are a fantastic way to naturally deworm your chickens!

    4- Nasturtiums make an incredible garnish for any meal. Not only are the plants visually appealing to your dish, but they are totally edible from the roots to the seeds!

    5- Nasturtiums are delicious! They have a mildly spicy flavor and a soft texture. We love adding them to salads, soups, stews, and stir fried meals. Try our delicious recipe for Nasturtium Pesto!

    Nasturtium Pesto

    INGREDIENTS 

    • 1 large colander of fresh nasturtium leaves and flowers
    • ¼ cup pistachios or cashews
    • ½ cup olive oil (avocado oil works well too!)
    • ½ cup fresh Parmesan cheese
    • ½ tsp dried red pepper flakes (optional)
    • salt and pepper to taste

    INSTRUCTIONS

    • Wash the nasturtium leaves and flowers and lightly pat them dry. Toast the nuts – put them in a dry pan over medium heat, stirring every 30 seconds or so. Cook for 2-3 minutes – until they start to smell good. Then take them off the heat. Caution- when toasting the nuts, pay close attention and stir often as they will scorch very fast!
    • Fill your food processor or blender ¾ with nasturtium leaves. Blend until they are well chopped. Add more leaves and continue this until all of the leaves are blended well.
    • Add in the toasted nuts and blend until finely chopped.
    • Add in the cheese, red pepper flakes and half the oil. Blend.
    • Add additional oil until you get your desired consistency.  This will vary depending on your texture preferences
    • Taste. Add salt, black pepper, more nuts or more cheese to match your tastes.
    • OPTIONAL – If you like traditional pesto, add a little fresh basil in your leaf mix to add a bit of traditional flavor to your pesto.

    6- If you struggle with drought in your area, fear not! Nasturtium are incredibly drought resistant and do not require much water at all to thrive. No need to worry about expanding your irrigation system to the nasturtium patch, just let nature be your watering guide!

    7- If you are looking for a plant that flowers for the majority of the season, look no further than the humble nasturtium! These plants grow very quickly from seeds and will bloom from early spring until late into the fall.

    8- Soil thrives when it is covered, and nasturtium works great as a living cover crop and natural mulch.

    9- Because it grows in nearly any soil conditions and requires little water or care, nasturtium works fantastic as a weed barrier. When planting this crop densely in a garden or flower bed, it will absorb the liquid and nutrition that is available which pulls resources away from potential weeds. As the plants grow, they will shade the soil below helping to prevent weed seeds from germinating.

    10- Nasturtium are high in beneficial minerals such as potassium, phosphorus, calcium and magnesium, as well as macro elements, including zinc, copper and iron.

    11- If you are looking for a plant to attract beneficial insects, nasturtium is the right plant for the job. Nasturtium is fantastic for attracting aphids and other garden pests. When planting it in a garden, be sure to plant it away from brassicas and other edible plants, as it WILL attract pests. This is a great way to distract the pests from your veggies and sacrifice the nasturtiums in their place. Check out The Urban Permaculture Podcast to learn about adding this plant to your integrated pest management system!

    12- Nasturtiums will self seed! While they are an annual flowering plant, nasturtium will drop seeds if you don’t collect them to eat first. This means that when soil conditions become right to germinate, the seeds will begin to sprout all on their own, making them a very easy crop to sow that will come back for many seasons if allowed to drop their seeds.

    13- But best of all… every part of the nasturtium is edible! That’s right, not only are the leaves delicious in things like pesto, and salads, but the flowers are entirely edible and look stunning mixed into a salad, and the seeds are slightly sweet and peppery and can be ground in a pepper grinder to add a complex flavor to your favorite dish!

    After learning all of the ways nasturtium can be beneficial to you and your garden, what is holding you back from planting these incredible plants today?!